

 Tweet
Tweet
I get emails asking me how I do this and that sometimes, so I thought I would post up what is going on with one of my Davies.
What I do may not be for everyone, and this thread will get updated as I go. I have several guitars that are being worked on at the moment, so progress may be spotty.
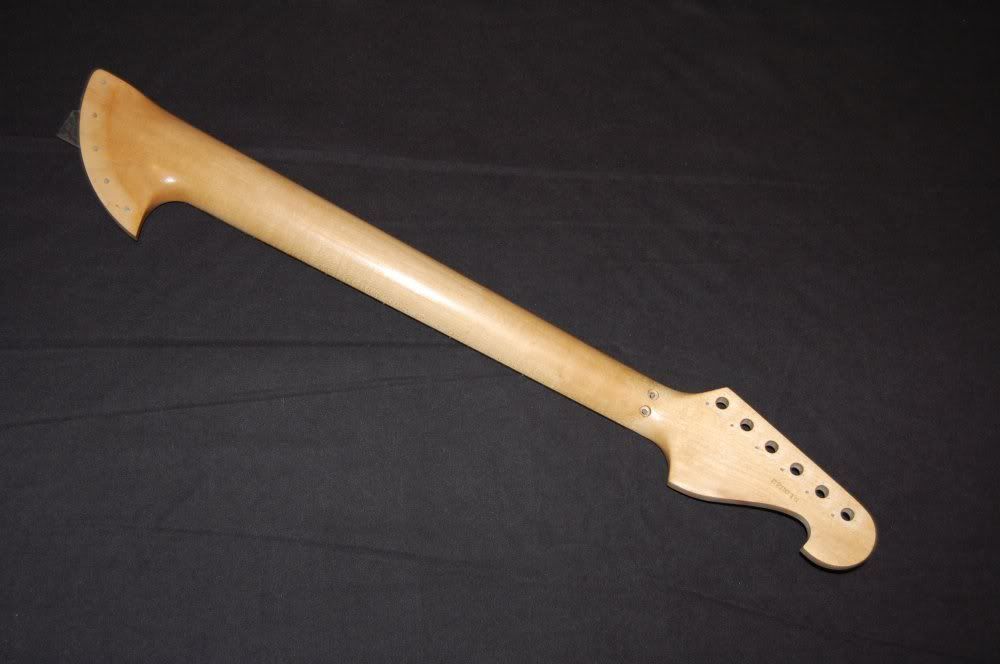
This is my latest Davies (I now have four), and it was quite a mess when I received it. The whole guitar looked to have never been cleaned, or set up frankly.
I am no luthier by any means, but I know my way around tools. I learn by reading and doing, so some of this may not be the 100% "correct" way to do things, but they work for me.
The neck had quite a bit of relief in it even with the truss rod backed off. So in an attempt to rectify this, I clamped it down to a straight edge for about a week, and that seemed to help. I did not apply any heat at this point, but this may be a problem come assembly time.
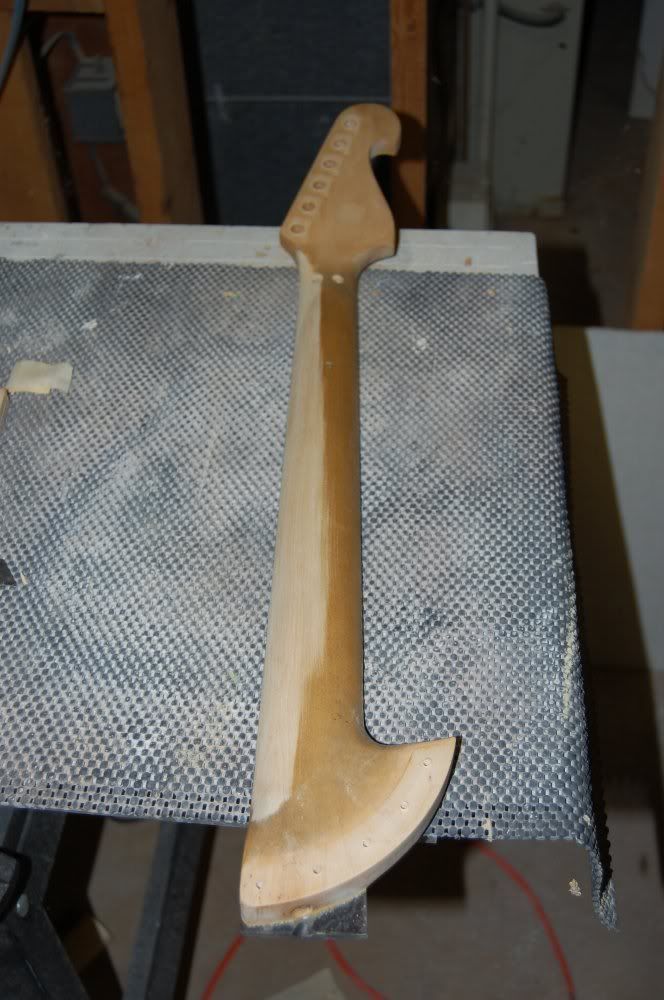
Firs thing I decided to tackle was the filthy neck. I have never owned a new Davies, so I don't know if they came with no finish on the neck, or very little. Either way, this neck was quite dirty and just plain gross feeling.
I started with 180 grit paper and in just a few minutes you can see just how dirty.
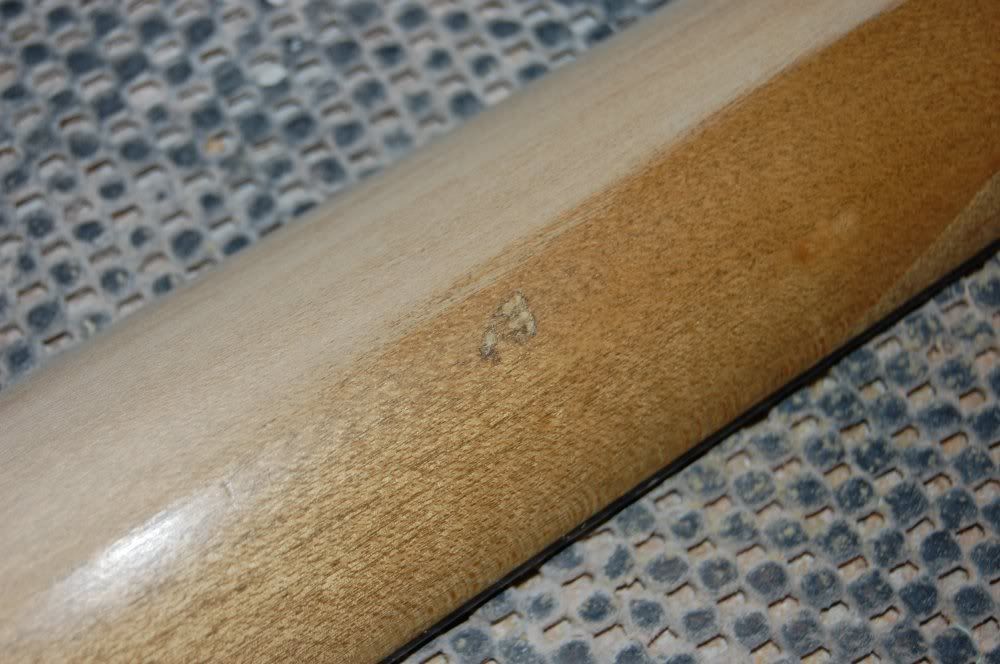
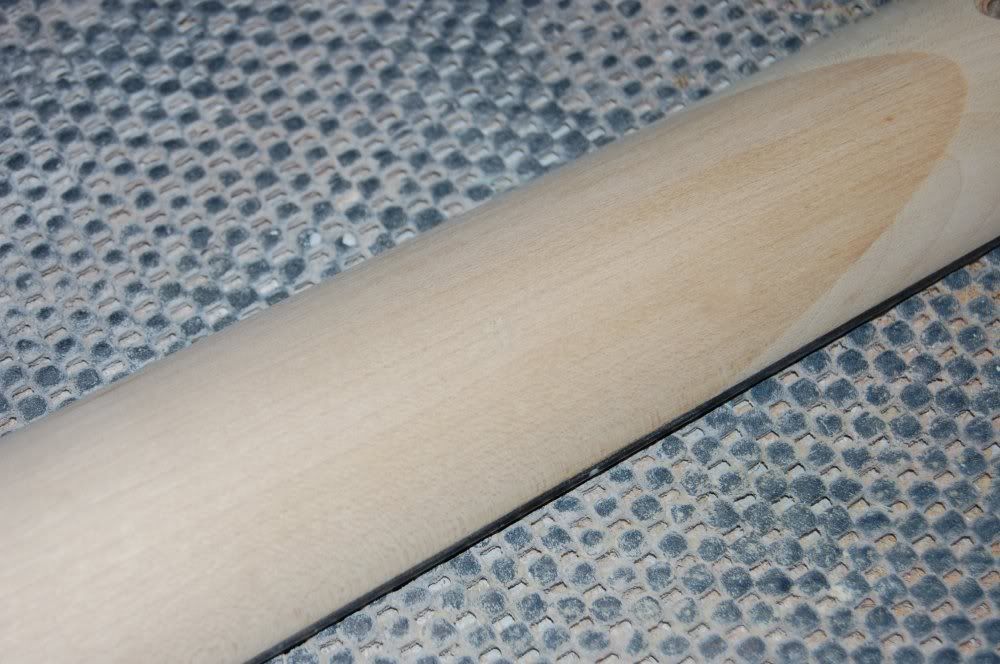
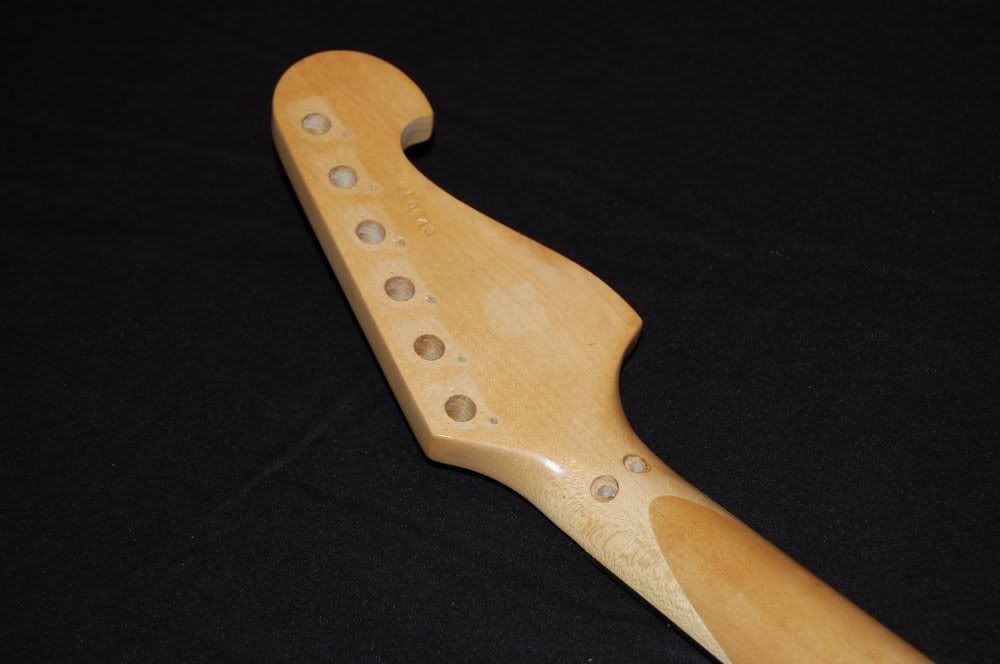
Remember this ding for later...

The fretboard....(gross)

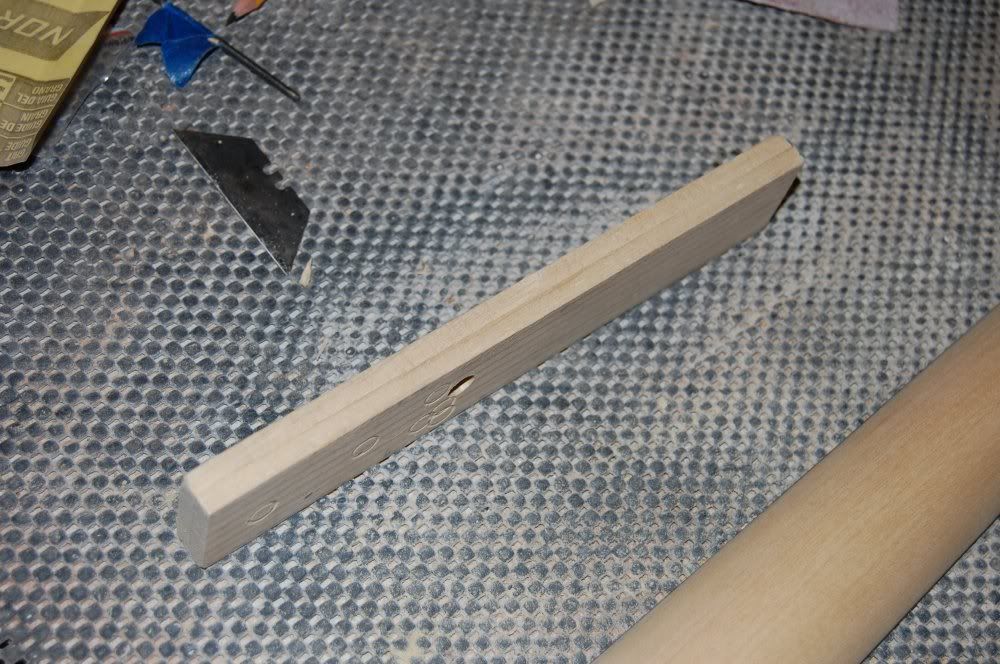
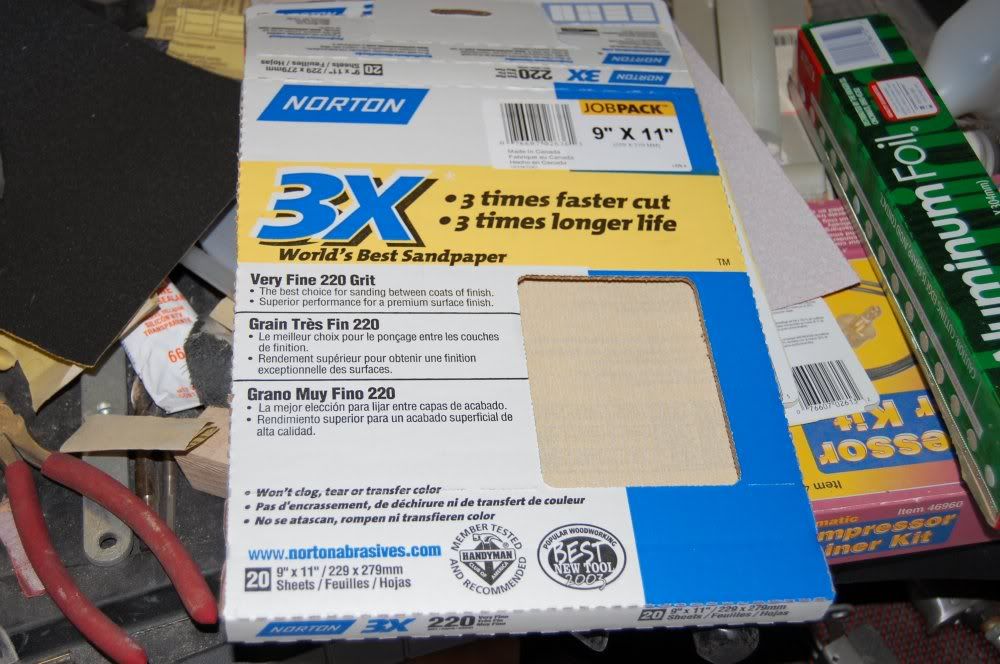
I use a simple sanding block of two paint sticks glued together, and Norton (the best) brand paper. Any sandpaper will work of course, but if you have the choice of Norton, get it.
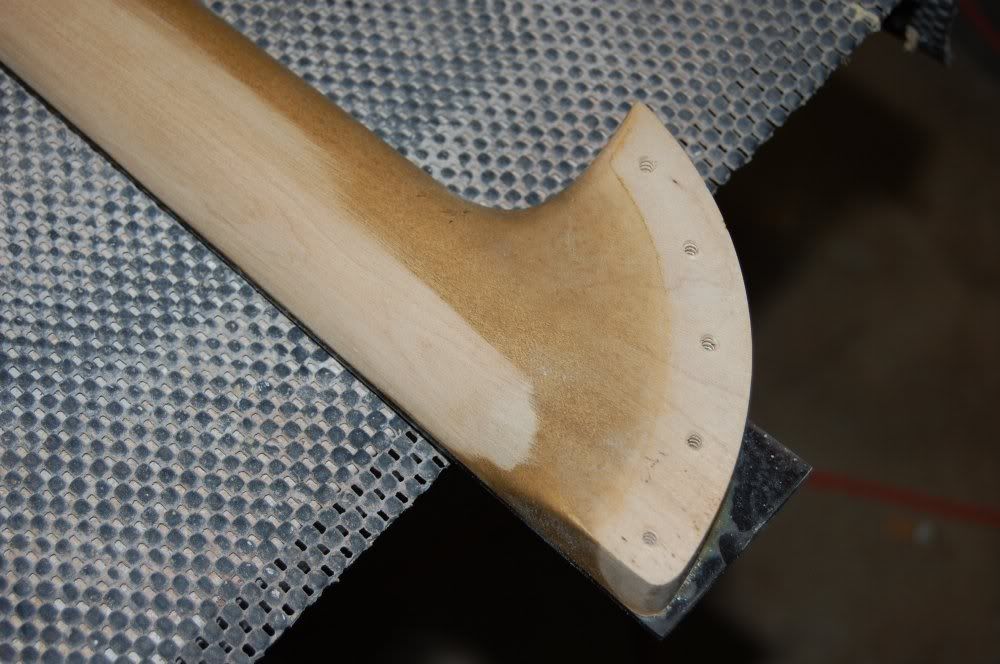
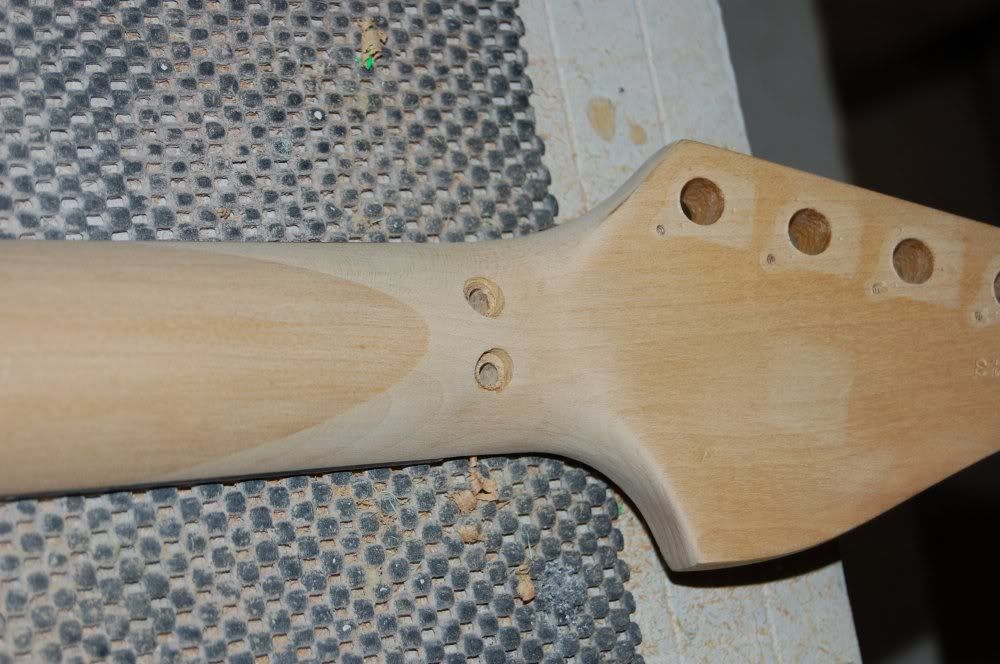
You can use "finger sanding" on the curved areas, but flat areas need to remain flat. Use the block when sanding the heel and sides. Remember, the point here is to removed dirt and stains, not remove large amounts of wood.
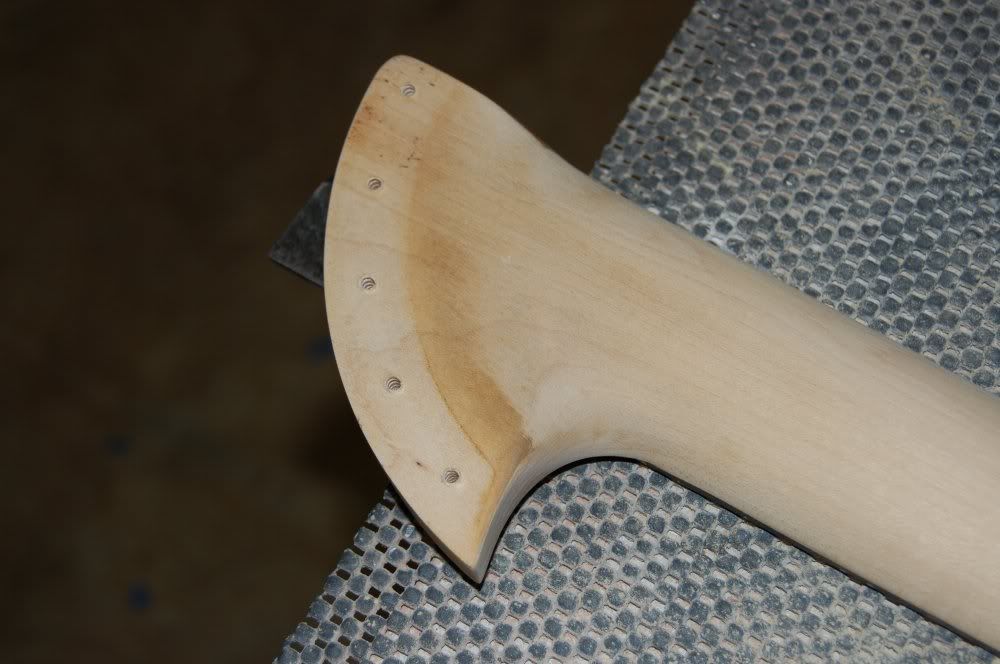
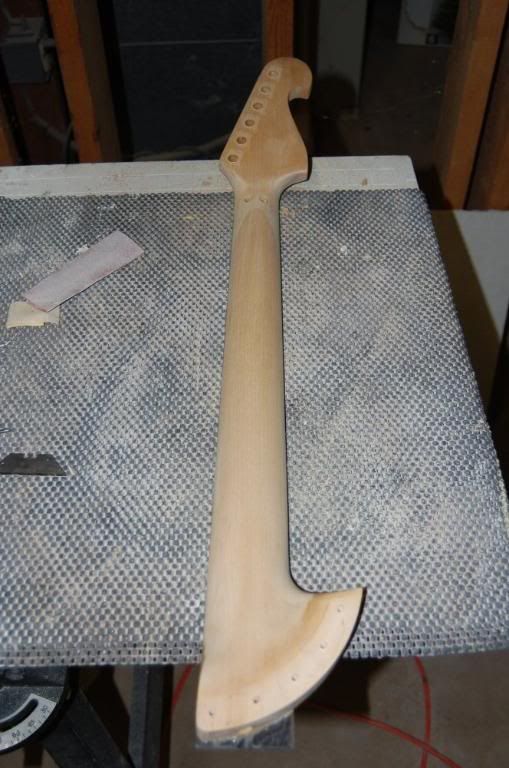
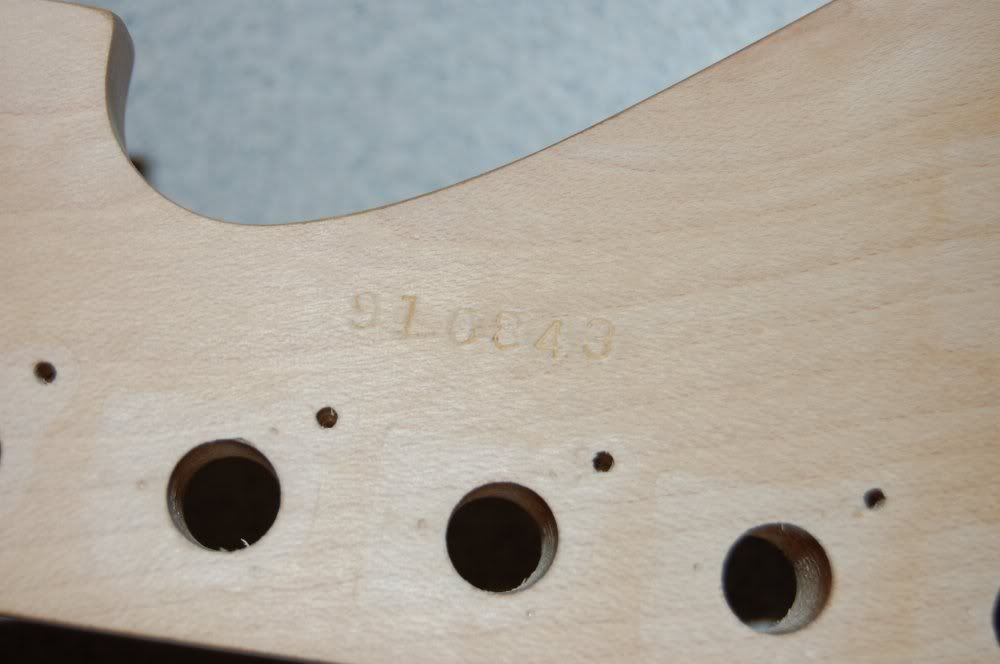
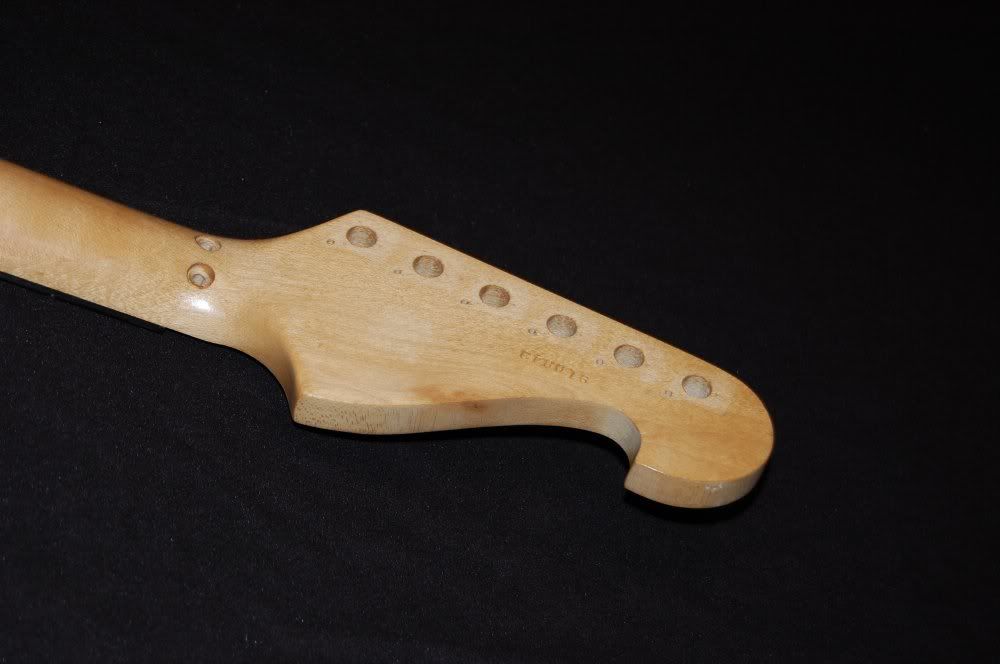
Here it is after about 20 minutes of sanding. Notice I did not "go to town" on the back of the headstock. Not only is it not really dirty, but you don't want to risk sanding off your serial number.
Remember the ding?
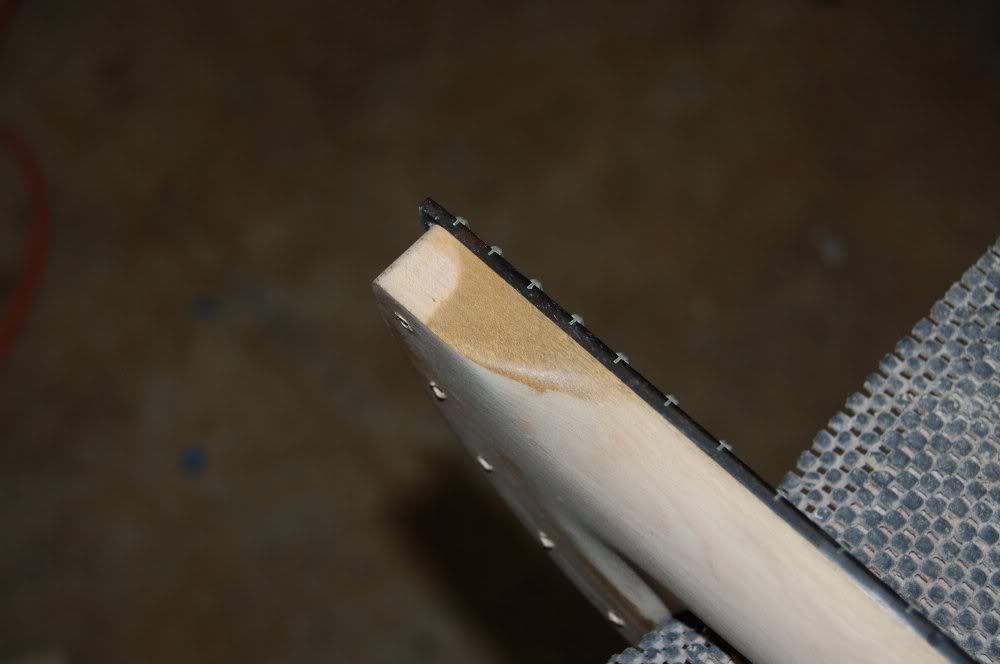
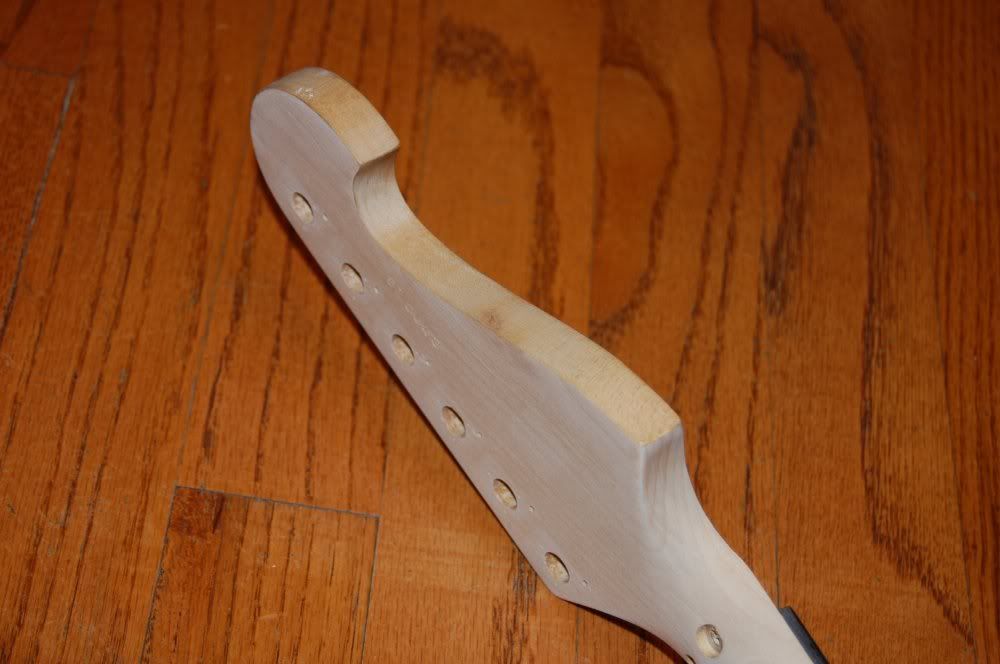
While I did lightly sand the back of the headstock, I purposely left the side alone. The finish on the headstock comes matte from the shop, and we want to retain that look.
I stepped up to 220 grit and in curved areas where sanding scratches might show, I went to 320. Depending on how you want to finish the neck will determine this. If you plan to use something like Tung Oil, then finish sand to 320. Since I like to use gunstock oil (Tru Oil), I stopped at 220.
Tru Oil is a "hard" finish, and will give the feel of an oiled neck, but with the protection of a hard finish. Not only is it almost idiot proof to apply, it looks great.
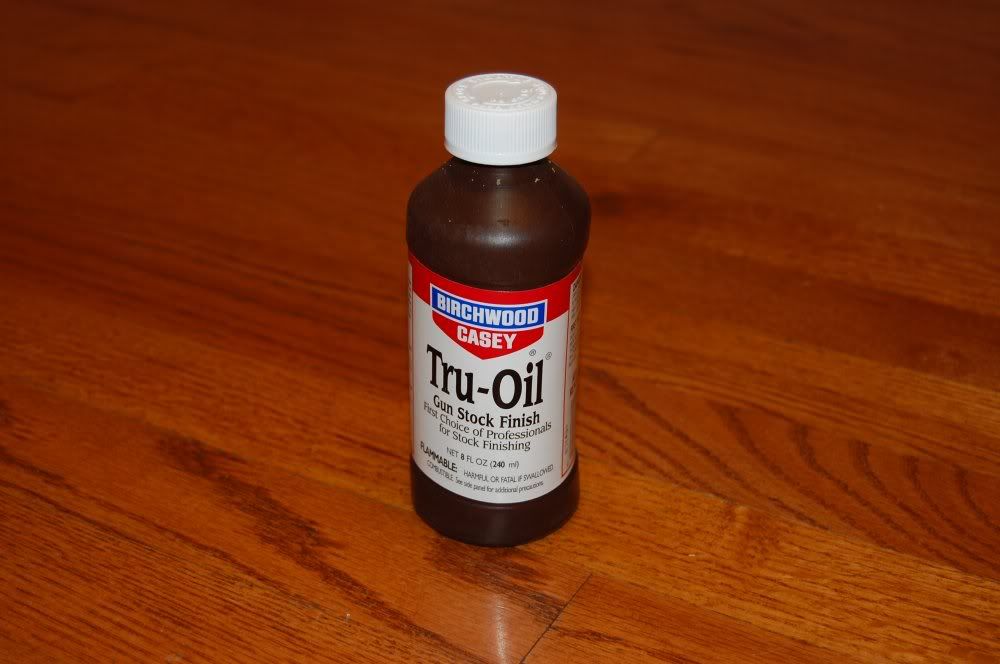
Let me show you my very high tech Tru Oil applicator.
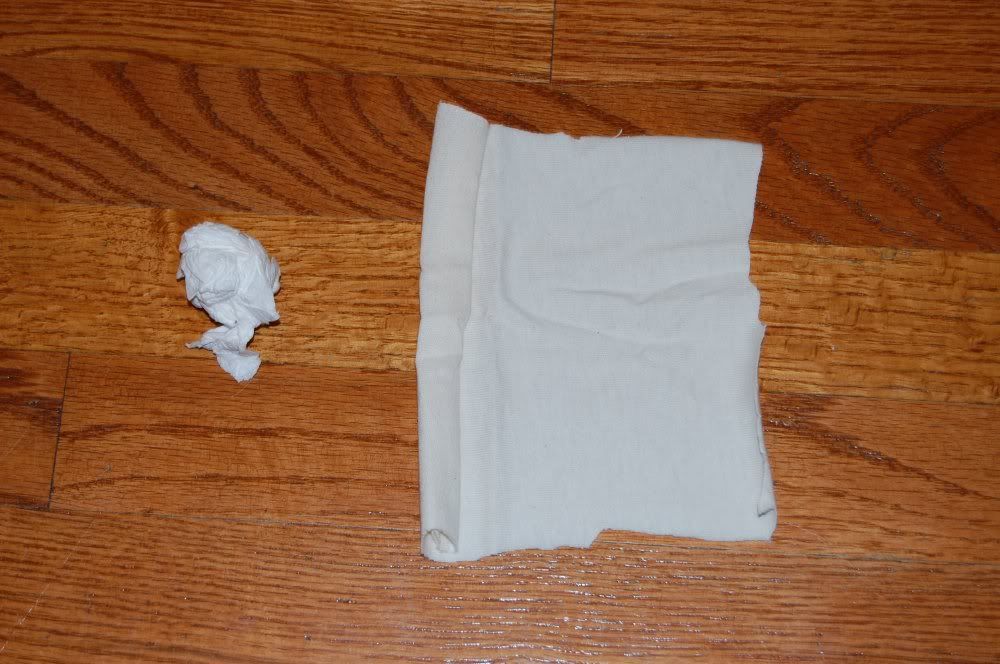
Yes, that is a small cotton cloth and a small ball of tissue paper. You can substitute the paper with a cotton ball, or even a piece of the same cotton rag. Anything that is soft and soaks up liquid will work (this is not brain surgery).
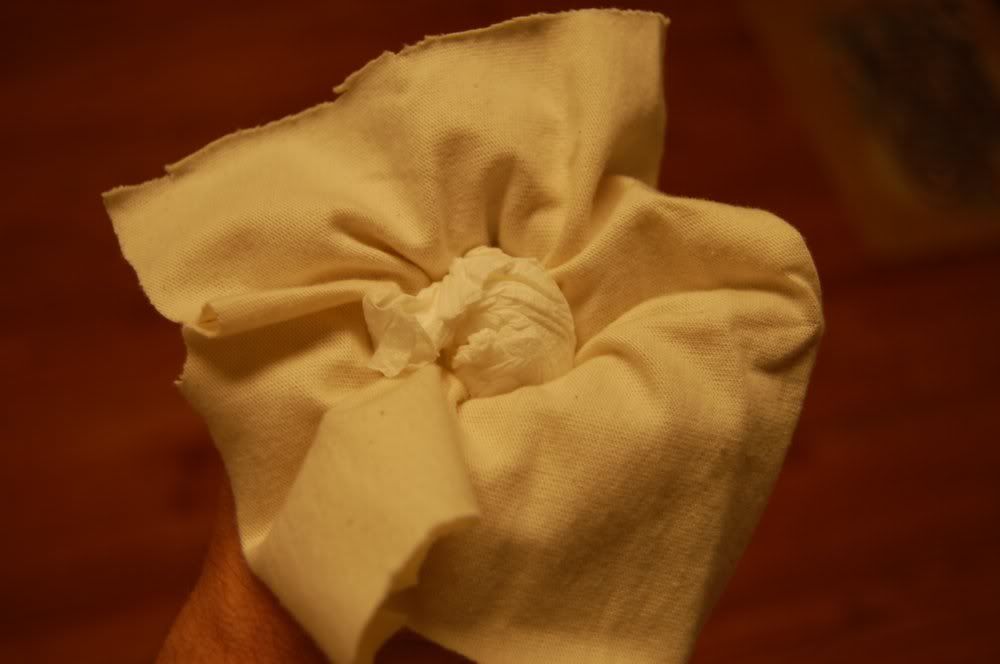
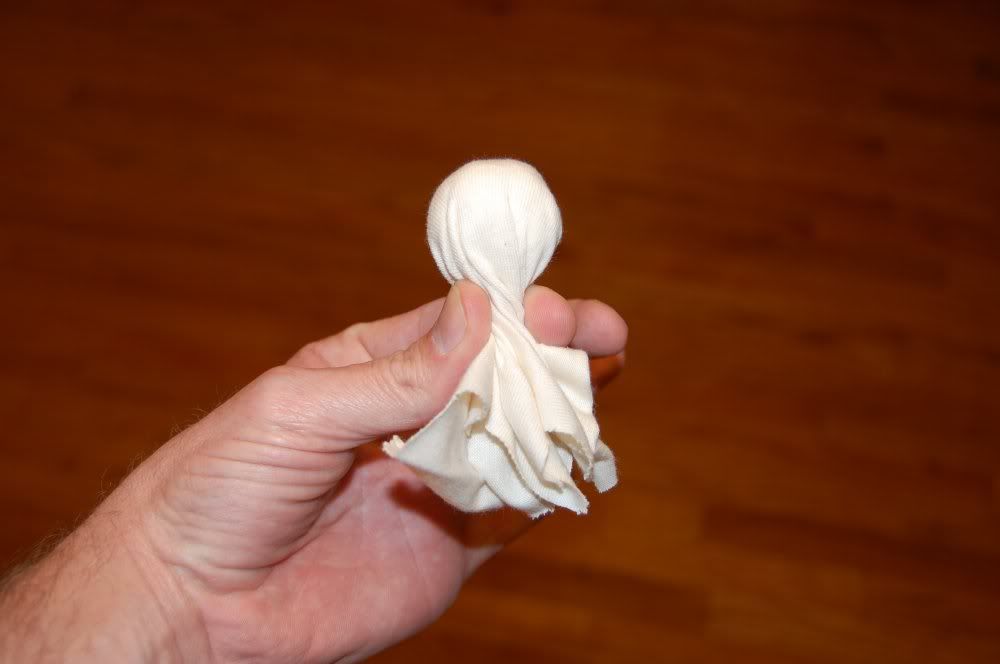
This is the very difficult way to build the applicator.
What I do may not be for everyone, and this thread will get updated as I go. I have several guitars that are being worked on at the moment, so progress may be spotty.
This is my latest Davies (I now have four), and it was quite a mess when I received it. The whole guitar looked to have never been cleaned, or set up frankly.
I am no luthier by any means, but I know my way around tools. I learn by reading and doing, so some of this may not be the 100% "correct" way to do things, but they work for me.
The neck had quite a bit of relief in it even with the truss rod backed off. So in an attempt to rectify this, I clamped it down to a straight edge for about a week, and that seemed to help. I did not apply any heat at this point, but this may be a problem come assembly time.
Firs thing I decided to tackle was the filthy neck. I have never owned a new Davies, so I don't know if they came with no finish on the neck, or very little. Either way, this neck was quite dirty and just plain gross feeling.
I started with 180 grit paper and in just a few minutes you can see just how dirty.
Remember this ding for later...
The fretboard....(gross)
I use a simple sanding block of two paint sticks glued together, and Norton (the best) brand paper. Any sandpaper will work of course, but if you have the choice of Norton, get it.
You can use "finger sanding" on the curved areas, but flat areas need to remain flat. Use the block when sanding the heel and sides. Remember, the point here is to removed dirt and stains, not remove large amounts of wood.
Here it is after about 20 minutes of sanding. Notice I did not "go to town" on the back of the headstock. Not only is it not really dirty, but you don't want to risk sanding off your serial number.
Remember the ding?
While I did lightly sand the back of the headstock, I purposely left the side alone. The finish on the headstock comes matte from the shop, and we want to retain that look.
I stepped up to 220 grit and in curved areas where sanding scratches might show, I went to 320. Depending on how you want to finish the neck will determine this. If you plan to use something like Tung Oil, then finish sand to 320. Since I like to use gunstock oil (Tru Oil), I stopped at 220.
Tru Oil is a "hard" finish, and will give the feel of an oiled neck, but with the protection of a hard finish. Not only is it almost idiot proof to apply, it looks great.
Let me show you my very high tech Tru Oil applicator.
Yes, that is a small cotton cloth and a small ball of tissue paper. You can substitute the paper with a cotton ball, or even a piece of the same cotton rag. Anything that is soft and soaks up liquid will work (this is not brain surgery).
This is the very difficult way to build the applicator.


Comment