Todays episode of In the Workshop

Ayrton

New member
I have not posted any build stuff in some time, and since I was clearing off my phone I figured I would share. Going to be some holes because I was not taking pics with the plan for a thread.

Some of you may remember that dark red (wine?) Les Paul Studio with the broken headstock I repaired from a few years ago. Even if I could find the thread I am sure Photobucket has wrecked it. Anyway, all you need to know is the guitar was an older Studio with ebony board and bought cheap ($50)

Hideous looking thing like this, but gold hardware.

gib97lp-studio-wine-chrome-after.jpg


I reparied the headstock so my friend could play it and see if it was worth fixing up further. Well, the frets were so jacked that is made it one show and then into the case it went...and that is where it sat for a few years.

I pulled it out to refret it, but I could not stand the color, so out comes the lacquer thinner
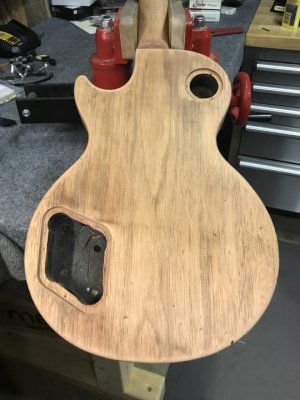
IMG_3079.jpg

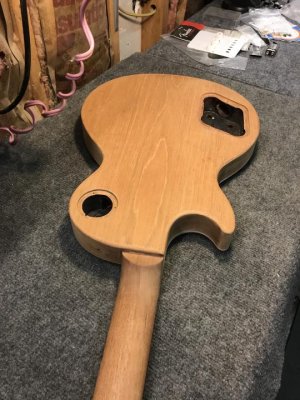
What do you know, it has a single piece back.

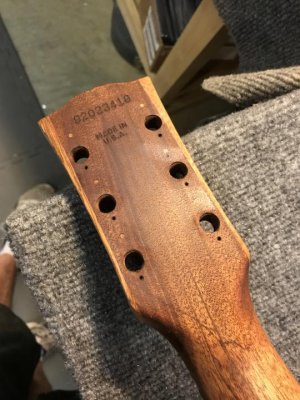
Here you can see the headstock repair
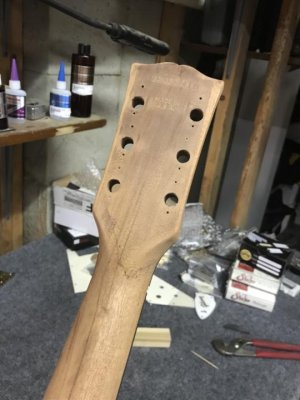
IMG_3080.jpg

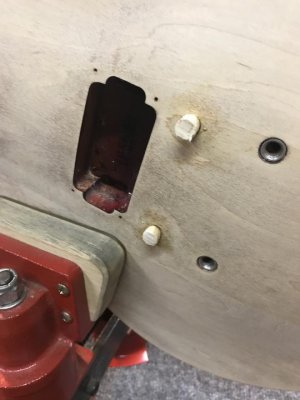
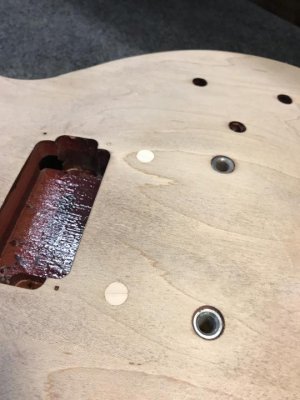
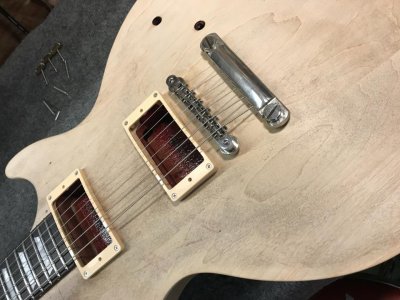
So now I am thnking a more involved effort should be made to this Les Paul a bit nicer. Various repairs, holes plugged, and a proper conversion to ABR studs.
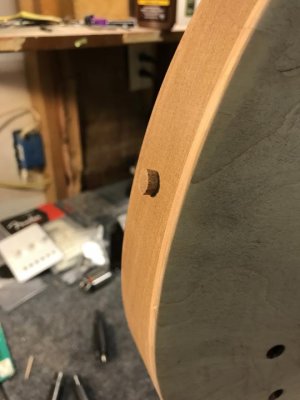
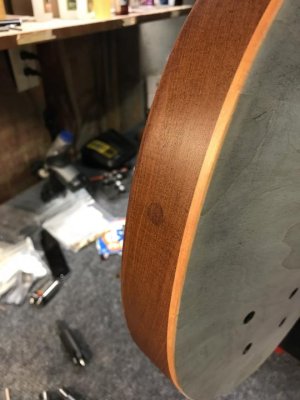
IMG_3088.jpg

IMG_3092.jpg

IMG_3094.jpg

IMG_3103.jpg

All sanded and cleaned up
IMG_3107.jpg

IMG_3108.jpg
 
Re: Todays episode of In the Workshop

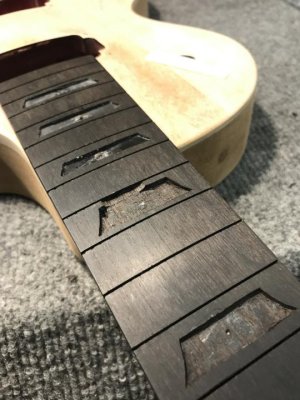
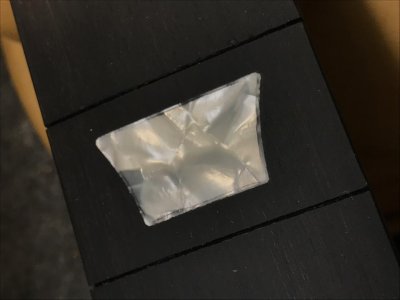
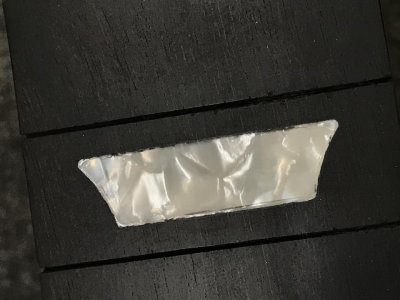
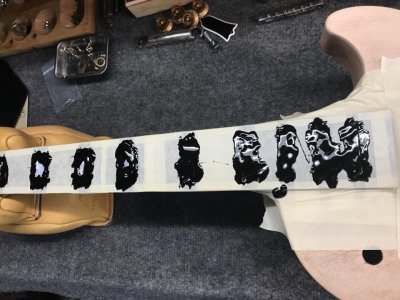
So now we get back to the frets, and the inlays look as though a blind monkey installed them. There was no way I was going to put my beautifully shaped frets in there with that, so they had to go.

You can see the jacked up inlays here (look at the edges!)

IMG_3183.jpg

One should be careful when removing inlays from dried out brittle ebony. Things can happen you don't really want.

IMG_3242.jpg

So now lets deal with this

IMG_3243.jpg

IMG_3244.jpg

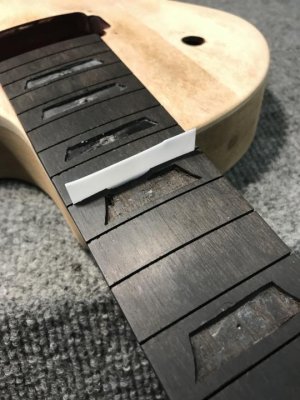
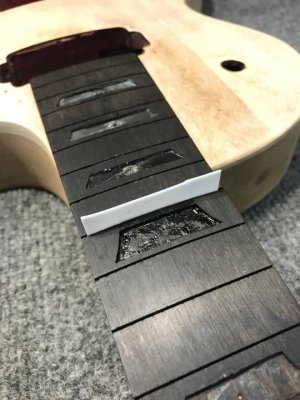
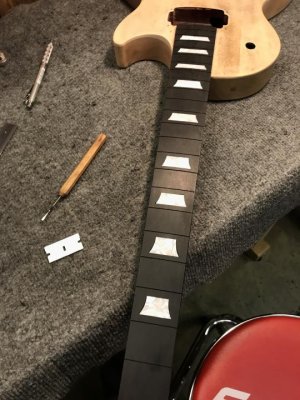
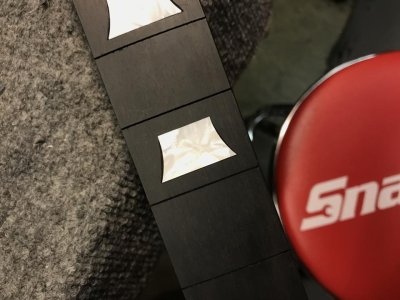
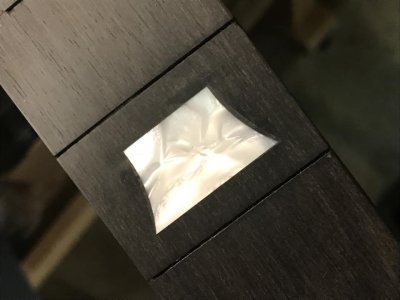
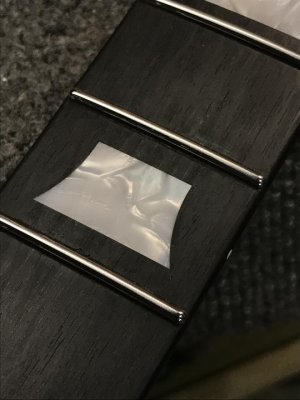
Lots of teaking later and the new inlays are in. You can see the gaps the blind monkey left me. The inlays came from here.

IMG_3246.jpg

IMG_3247.jpg

Now we have to fill those gaps with epoxy mixed with ebony stain

IMG_3251.jpg

IMG_3253.jpg
 
Last edited:
Re: Todays episode of In the Workshop

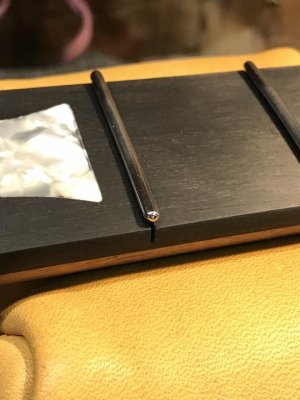
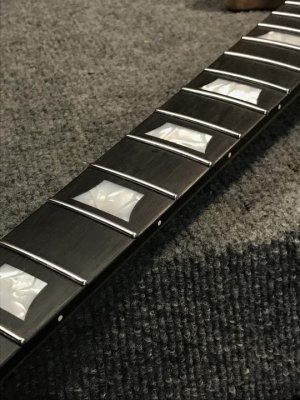
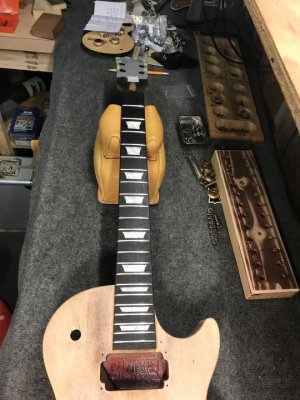
Now we can get the frets in there and roll the board edges.

Stainless steel Jescar 57110

IMG_3272.jpg

IMG_3273.jpg

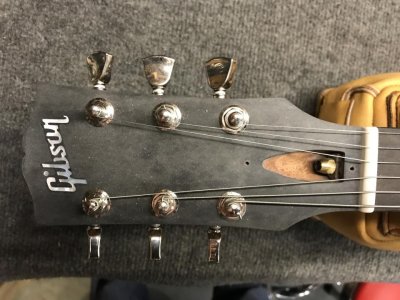
The Studios came with a silk screened logo, but this guitar deserves an inlay.

IMG_3441.jpg

Final mockup before off to paint.

IMG_3276.jpg

IMG_3442.jpg

All for now. I have several going off to paint, so to be continued...
 
Last edited:
Re: Todays episode of In the Workshop

Nice work!! Headstock break was well repaired too.

Not sure what you meant about the original inlays......look well installed to me.
 
Re: Todays episode of In the Workshop

Nice work!! Headstock break was well repaired too.

Not sure what you meant about the original inlays......look well installed to me.


Check the edges and corners of the old ones. They should be crisp and sharp. The color was also just terrible up close.
 
Re: Todays episode of In the Workshop

Check the edges and corners of the old ones. They should be crisp and sharp. The color was also just terrible up close.

'Should'......hmmmm Gibson has/had been deliberately putting those rounded edge inlays on for quite a while now - especially for the studio range which by definition is a budget level. So in short they routed the inlay shape perfectly for the inlay they had specced and cut to that shape at the time. Same with the colour......ok it doesn't match the vintage CN, but just because it doesn't match vintage doesn't mean its automatically a flaw.
 
Re: Todays episode of In the Workshop

Of course, I know Gibson rounds the corners to make installation faster and easier. Did I expect a precision fit, no. However, none of that changes the fact that it was a crap looking job with fake perloid plastic.

Certainly, you can agree it looks much better, no?
 
Re: Todays episode of In the Workshop

Nice studio. What color will it be? I've got one I use as a pickup tester that could use your treatment someday.

FWIW my LP studio, my SG standard and my LP standard from 1994 all have rounded inlays. Not sure when they were last so sharp, but they do look so much better the way you've done it.
 
Re: Todays episode of In the Workshop

Of course, I know Gibson rounds the corners to make installation faster and easier. Did I expect a precision fit, no. However, none of that changes the fact that it was a crap looking job with fake perloid plastic.

Certainly, you can agree it looks much better, no?

I'll need more than just that 1 pic to make a comment on the workmanship - that one of the original inlay I'm not spotting the detail which you've mentioned.
 
Re: Todays episode of In the Workshop

Seriously, we are still talking about inlays? I had no idea you were so sensitive Alex. I just assumed you were aware of Gibson's well-documented history of poor inlays. I mean there is an entire industry dedicated to replacing them.

Please enjoy these pictures of the old inlays with my apologies.

IMG_3186.jpg

IMG_3187.jpg
 
Re: Todays episode of In the Workshop

No.....I agree now on the workmanship given these pics.

The aftermarket inlays are only for form or the type of 'figure' in them. Everyone wants the vintage CN type (which of course yours aren't but I'm sure you're already aware of it) or a less obviously plastic look.
None of the Gibson's I've had (or seen) have been like yours around the edges I'd have to say.


What are your plans for the finish??
 
Last edited:
Re: Todays episode of In the Workshop

Awesome job so far ... as always. Looking forward to see the finished guitar.
 
Re: Todays episode of In the Workshop

Love these in-process pics. I am not someone who can do (or ever learned how to) restore guitars like that, so it is fascinating to me. Can't wait to read more of the story.
 
Re: Todays episode of In the Workshop

The question of binding came up...

If you were to do binding on it, since the neck is already glued in, how would you rout the body at the neck? (A lot of hand chiseling?)
 
Re: Todays episode of In the Workshop

Nice work again. Your work stool shows you know quality. ie) Snap On for those that didn't see it.
 
Re: Todays episode of In the Workshop

The question of binding came up...

If you were to do binding on it, since the neck is already glued in, how would you rout the body at the neck? (A lot of hand chiseling?)

I guess, but no way I am trying that. I have done binding on necks and bodies, but trying it on a set neck still together is asking for trouble.

I think that question gets asked at least once a week on the LP forums.
 
Back
Top