Restoring my Warmoth LP

Re: Restoring my Warmoth LP

Wow, that cleaned up surprisingly nice!!!

I wish to reiterate my suggestion to go with a clear back of body/neck, the grain looks phenomenal IMO.

That was my plan all along.

Here's what will happen:

BODY:
- Top will get blue dye
- Back and sides will get no dye or tint
- Whole body will get hard clear coat

NECK:
- Front of headstock will get deep brown stain + hard clear coat
- Everything else will get tung oil
 
Re: Restoring my Warmoth LP

...Last task was to get a mounting ring screw out whose head broke off. I tried everything I could come up with ... eventually just had to dig it out. Argh... Oh well - that part's under the mounting ring anyway.

View attachment 38221

Great project! That flamed top is going to look fantastic when you're done.

I have snapped the heads off many a screw, and stripped the heads of so many others. The one trick that always works for me for extracting damaged wood screws is to grab the head (or shaft) with a pair of vise-grips and then just un-screw it. It can be difficult to do without marring the wood, but the trick has worked for me every time I've needed it.
 
Re: Restoring my Warmoth LP

Great project! That flamed top is going to look fantastic when you're done.

I have snapped the heads off many a screw, and stripped the heads of so many others. The one trick that always works for me for extracting damaged wood screws is to grab the head (or shaft) with a pair of vise-grips and then just un-screw it. It can be difficult to do without marring the wood, but the trick has worked for me every time I've needed it.

Tried that, failed miserably. Also tried loosening it up with oil, and just yelling at it real loud.
 
Re: Restoring my Warmoth LP

Try yelling at it through a 4x12, that usually helps with any loose screw or nail in a 20 yard radius, and is rumored to loosen them up to 50. Works great for tooth fillings and against stuffed up ears, too. :D
 
Re: Restoring my Warmoth LP

Progress continues!

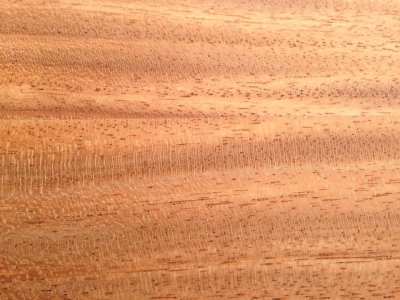
I took crusty's advice and used lacquer thinner to flush all the remaining paint from the pores of the mahogany. Here's a close-up of the result:

Photo 2013-02-08 1 38 04 PM.jpg

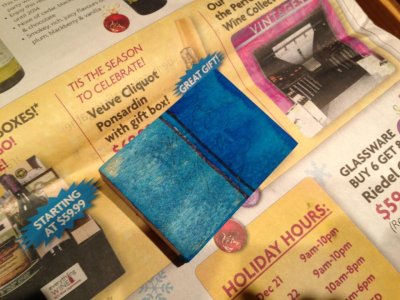
Here's a block of scrap maple I used for dye testing. The darker one is the one I will use.

Photo 2013-02-09 8 32 32 PM.jpg

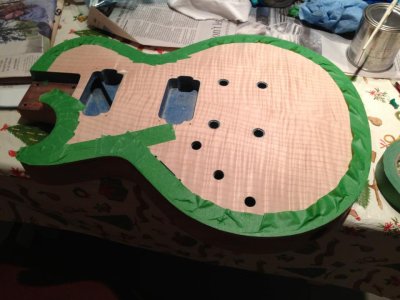
Since I only intend to dye the top, the next step was to brush on a bit of clear coat to seal the edges of the maple. Water-based dye will just bleed right under masking tape, so if you want a clean edge this is the best way to do it. I masked the top to make sure I didn't get poly anywhere I want the dye to soak in.

Photo 2013-02-09 8 32 38 PM.jpg

I just used a little paintbrush to apply the poly. It doesn't matter that it goes over the mahogany a little - it will all be sprayed with clear pretty soon anyway, plus I will sand it level once the dye is done. I used Minwax fast drying clear gloss polyurethane.

Photo 2013-02-09 8 32 49 PM.jpg

Next up: time to dye!
 
Re: Restoring my Warmoth LP

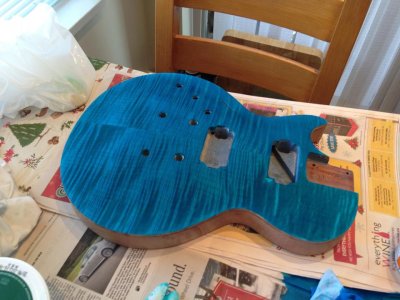
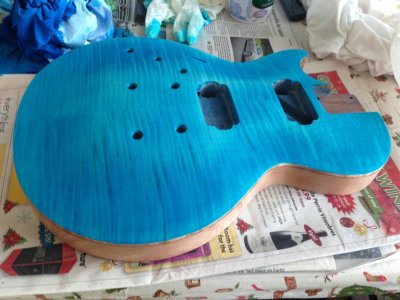
First coat of dye! It's Peacock Blue aniline dye from Lee Valley Tools.

Photo 2013-02-10 11 01 50 AM.jpg

After the first coat dried, I sanded it back a bit with the 320 sanding block.

Photo 2013-02-10 11 56 51 AM.jpg

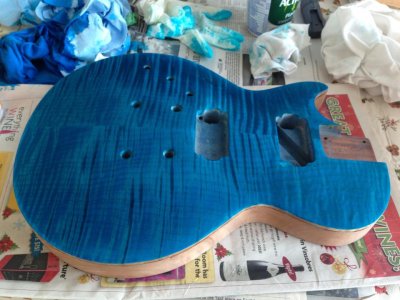
Second coat applied, still a bit wet. It's very close now.

Photo 2013-02-10 12 03 08 PM.jpg
 
Re: Restoring my Warmoth LP

Looks mint as good work..There is something so satisfying about doing a custom finish on a guitar.
 
Re: Restoring my Warmoth LP

Looks awesome!!!! I was wondering about the binding and how to keep the stain from penetrating into the "binding" - thanks!
 
Re: Restoring my Warmoth LP

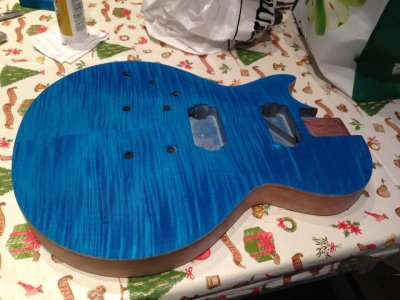
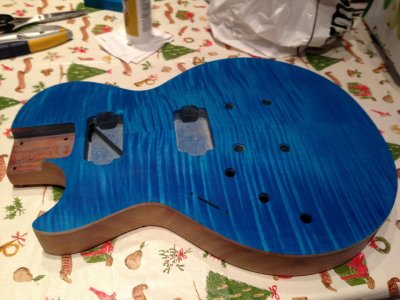
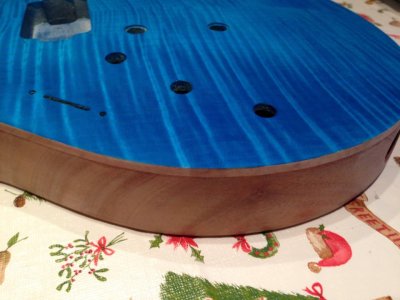
I let the dye dry overnight before deciding whether or not to do a third coat. Here's the result:

Photo 2013-02-11 4 36 25 PM.jpg

Photo 2013-02-11 4 36 37 PM.jpg

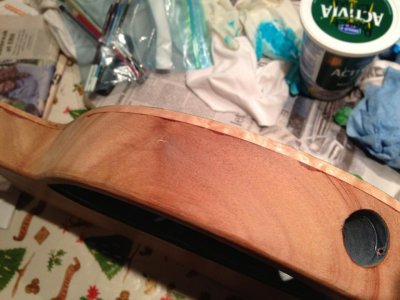
The poly did a great job of keeping the dye out of the maple, but I was a tiny bit sloppy and got some on parts of the mahogany; only tiny traces though. A quick hit with some 220 then 320 along the sides took care of the marks.

Photo 2013-02-11 4 37 33 PM.jpg

My work on the body is now done. It will be shelved awaiting a clear coat (which will be early March last I heard).

Next up is the headstock. That will be much easier, but no less nice.

PS: yes I still have a Christmas table cloth out. Only god can judge me.
 
Last edited:
Re: Restoring my Warmoth LP

PS: yes I still have a Christmas table cloth out. Only god can judge me.

Hey, at least you don't still have your lights up...

I hope.


Anyways, that looks killer. Absolutely killer. Are you going to do gold hardware? If not, go for black. Chrome would look... blargh.
 
Back
Top