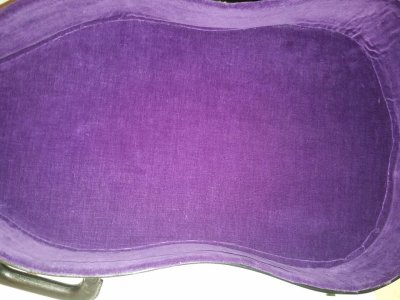
StoRMiE
New member
This topic is not often breached by guitar players as working with dress material isn't metal.
Without further adieu...
Required materials:
One sh*tty guitar case
A ruler
Quilter's and dressmaker's pencils
Scissors
Masking tape
A staple gun(?)
Respirator mask with filters that can handle glue
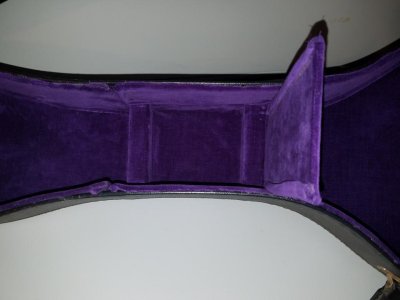
A cheap tablecloth to save you from destroying your workbench
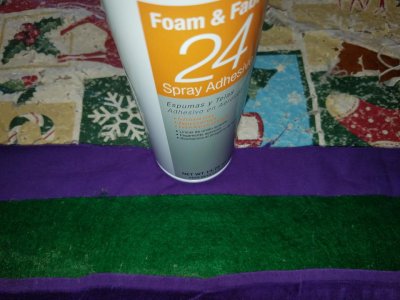
1-2 cans of 3M spray adhesive for foam and fabric
4-5 yards of velvet preferably backed as to not bleed glue
4-5 yards of felt in the hideous color of your choice
A pin cushion and pins
Absolutely no idea what you're doing
Too many hours of your time
The mentality to spend more on required materials than the guitar case is worth
Instant regret of your life decisions
Step 1: Find the cheapest guitar case you possibly can, preferably something cardboard with fake tolex that's literally falling off.
Step 2: Take a razor blade to any fabric that used to exist within it and slowly start removing it in strips.
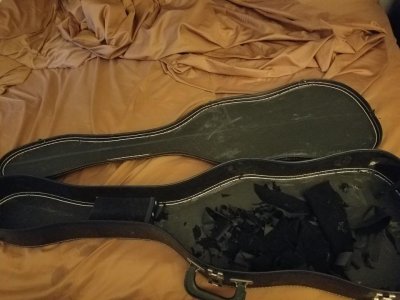
Step 3: Waste time by taking pictures and putting them on the internet
Step 4: Throw the edge of the felt into the case and smooth it down until it looks like it's completely down and fits, then take your quilter's or dressmaker's pencils and draw the outline of the case on felt.
Step 5: Cut it out and measure the height of the sides of the case and anywhere else you need material repeatedly before you mark it out with your pencil and begin to cut, plan the entire thing in your head as to where the material is going before you cut as to not have a disaster filled with random husks of material everywhere.
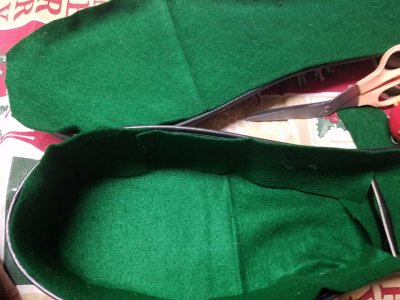
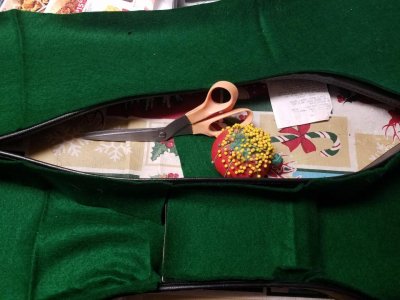
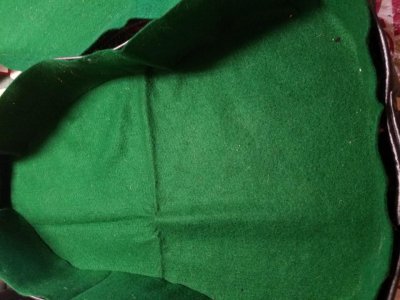
Step 6: Repeat the process with the velvet by cutting the piece for the bottom of the case first and then creating strips larger than the sides you require to fold over the back of the felt to create strips. I used masking tape across the backs of the strips to hold them in place to have them remain pliable instead of stiff from pins. Place those strips and make sure to fit everything where it goes and check to see that it looks correct and that there are no gaps or issues before you move onto gluing. This process can take many hours to get it right. Always account for your folded edges of your material strips as to avoid massive seams everywhere making it unsightly.
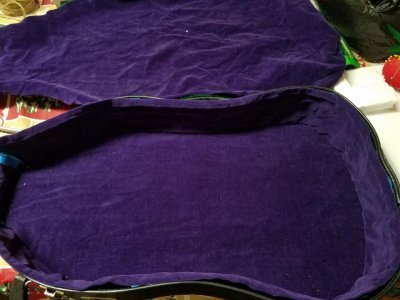
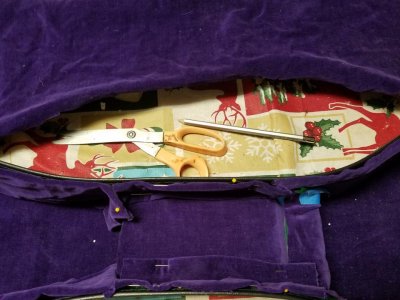
Step 7: If you have a door in your case take time to properly measure it out and reline it, if that process requires refitting it and reattaching it you will require a staple gun.
Step 8: Final fitting and cutting. Make sure everything fits exactly the way you need it to and begin cutting.
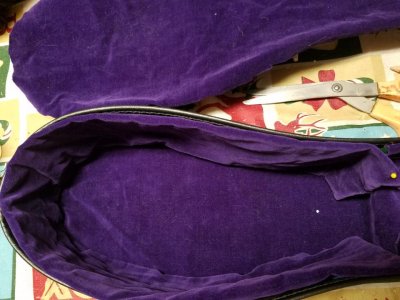
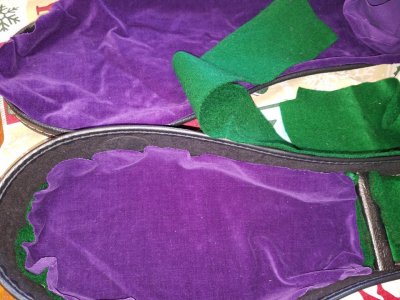
Step 9: Make sure your felt lining and subsequent velvet material fits perfectly before moving onto the next step.
Step 10: Place your felt bottom lining/lid lining into the case and confirm that it fits perfectly. Once it does remove it and spray the inside of the case lightly with glue. It looks like spiderweb if you do it right but there's room for error, if it's coming out as blobs of orange liquid the can nozzle is gummed up or you have the nozzle turned to low pressure. Once the felt is glued down smooth it out with the side of a pen or pencil and then let it dry for about 5-10 minutes before spraying another light misting of glue onto the felt and placing your velvet and once again smoothing it out and letting it dry.

Step 11: (*Do this far away from the case and your material, the 3M can's like to spit.) Take the felt out of the centers of the material, if you folded the material over the felt it should have a crease across the entire thing on both sides. Lightly spray adhesive onto the felt from 4-8 inches away and it should mist it with a spiderweb like substance let it tack up for a minute and then flip the glue covered felt and place it back into the center of your material. Once it's in place press it in with your hands and try to avoid getting glue on the front of the material. Now peel the back folds apart and lightly mist the back of the felt and stick your folds down to the material while avoiding creating any large bends or creases. Remember to glue and fold your edges very slightly to avoid fraying and seams in the final product.
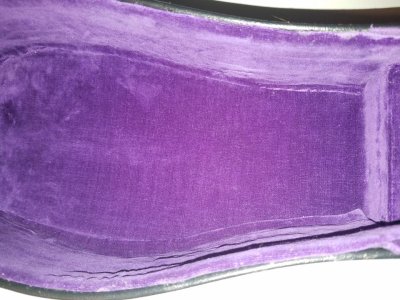
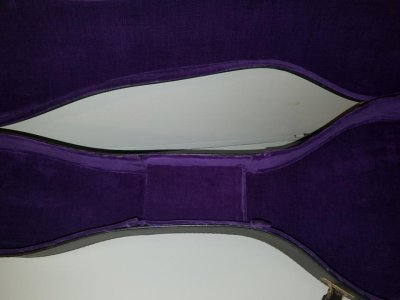
Step 12: Now that your strips are relatively dry confirm that they fit by placing them along the sides and adjusting them if needed, remove them a final time and lightly mist the entire back of now felt/velvet hybrid backing and begin slowly pressing your material into place while avoiding getting glue covered strips on existing material. Make sure you apply even pressure around the entire thing and adjust if the material stretches as to not cause any gaps. Repeat this process with the majority of the case.
Without further adieu...
Required materials:
One sh*tty guitar case
A ruler
Quilter's and dressmaker's pencils
Scissors
Masking tape
A staple gun(?)
Respirator mask with filters that can handle glue
A cheap tablecloth to save you from destroying your workbench
1-2 cans of 3M spray adhesive for foam and fabric
4-5 yards of velvet preferably backed as to not bleed glue
4-5 yards of felt in the hideous color of your choice
A pin cushion and pins
Absolutely no idea what you're doing
Too many hours of your time
The mentality to spend more on required materials than the guitar case is worth
Instant regret of your life decisions
Step 1: Find the cheapest guitar case you possibly can, preferably something cardboard with fake tolex that's literally falling off.
Step 2: Take a razor blade to any fabric that used to exist within it and slowly start removing it in strips.

Step 3: Waste time by taking pictures and putting them on the internet
Step 4: Throw the edge of the felt into the case and smooth it down until it looks like it's completely down and fits, then take your quilter's or dressmaker's pencils and draw the outline of the case on felt.
Step 5: Cut it out and measure the height of the sides of the case and anywhere else you need material repeatedly before you mark it out with your pencil and begin to cut, plan the entire thing in your head as to where the material is going before you cut as to not have a disaster filled with random husks of material everywhere.


Step 6: Repeat the process with the velvet by cutting the piece for the bottom of the case first and then creating strips larger than the sides you require to fold over the back of the felt to create strips. I used masking tape across the backs of the strips to hold them in place to have them remain pliable instead of stiff from pins. Place those strips and make sure to fit everything where it goes and check to see that it looks correct and that there are no gaps or issues before you move onto gluing. This process can take many hours to get it right. Always account for your folded edges of your material strips as to avoid massive seams everywhere making it unsightly.


Step 7: If you have a door in your case take time to properly measure it out and reline it, if that process requires refitting it and reattaching it you will require a staple gun.
Step 8: Final fitting and cutting. Make sure everything fits exactly the way you need it to and begin cutting.


Step 9: Make sure your felt lining and subsequent velvet material fits perfectly before moving onto the next step.
Step 10: Place your felt bottom lining/lid lining into the case and confirm that it fits perfectly. Once it does remove it and spray the inside of the case lightly with glue. It looks like spiderweb if you do it right but there's room for error, if it's coming out as blobs of orange liquid the can nozzle is gummed up or you have the nozzle turned to low pressure. Once the felt is glued down smooth it out with the side of a pen or pencil and then let it dry for about 5-10 minutes before spraying another light misting of glue onto the felt and placing your velvet and once again smoothing it out and letting it dry.

Step 11: (*Do this far away from the case and your material, the 3M can's like to spit.) Take the felt out of the centers of the material, if you folded the material over the felt it should have a crease across the entire thing on both sides. Lightly spray adhesive onto the felt from 4-8 inches away and it should mist it with a spiderweb like substance let it tack up for a minute and then flip the glue covered felt and place it back into the center of your material. Once it's in place press it in with your hands and try to avoid getting glue on the front of the material. Now peel the back folds apart and lightly mist the back of the felt and stick your folds down to the material while avoiding creating any large bends or creases. Remember to glue and fold your edges very slightly to avoid fraying and seams in the final product.
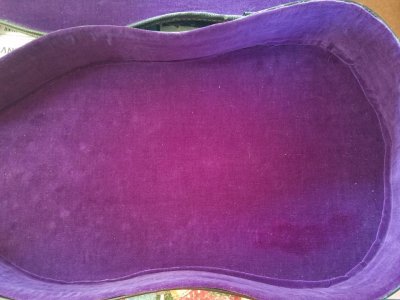
Step 12: Now that your strips are relatively dry confirm that they fit by placing them along the sides and adjusting them if needed, remove them a final time and lightly mist the entire back of now felt/velvet hybrid backing and begin slowly pressing your material into place while avoiding getting glue covered strips on existing material. Make sure you apply even pressure around the entire thing and adjust if the material stretches as to not cause any gaps. Repeat this process with the majority of the case.

Last edited:

